

How notifications work
You subscribe a channel to an event. A channel is where the notification goes, such as an email address or a webhook URL. Create the channel before you subscribe it to events. One channel can receive many event types. You configure notifications at two levels:- Team: defaults for every workflow in the team.
- Workflow: settings for one workflow. They override the team defaults for the same event type.
Create a channel
- Dashboard
- SDK & API
- MCP
- Go to Settings > Notifications.
- Under Channels, select Create channel.
- Select the channel type: Email, Slack, Webhook, or Websocket.
- Fill in the fields for that type. Each type’s page in Channels lists them.
- Select Save.
Set team defaults
- Dashboard
- SDK & API
- MCP
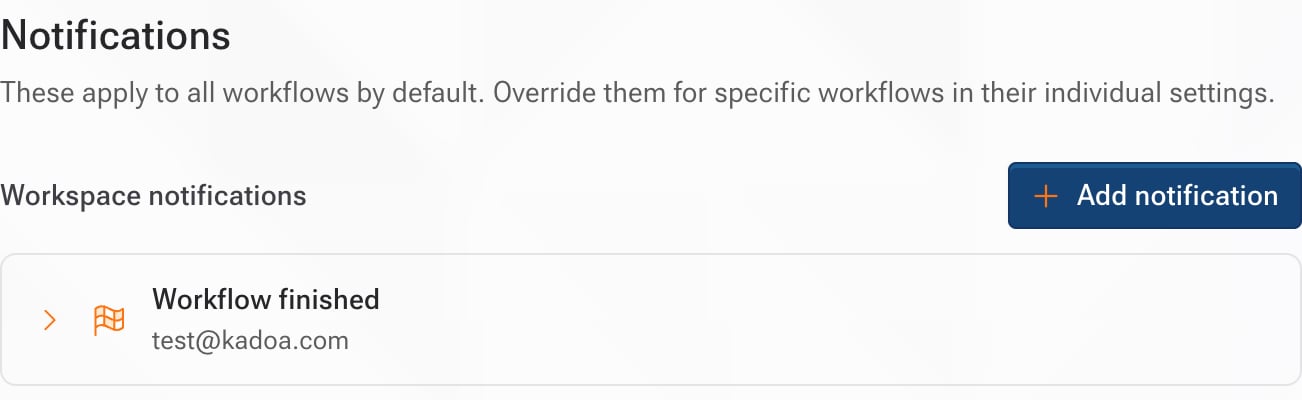
- Go to Settings > Notifications.
- Next to Workspace notifications, select Add notification.
- Select an event type, such as Workflow finished.
- Select Add a channel, then select a channel or Create new channel.
-
Select Save changes.
Set notifications for one workflow
- Dashboard
- SDK & API
- MCP
You can set notifications while you create a workflow or later.While you create the workflow: in the setup prompt, select Notifications. Then select one or more channels, or select Create channel. Kadoa applies the selection to data change notifications when it creates the workflow.After you create the workflow:
- Open your workflow and select the Notifications tab.
- Select Add notification.
- Select an event type.
- Select Add a channel, then select a channel or Create new channel.
-
Select Save changes.
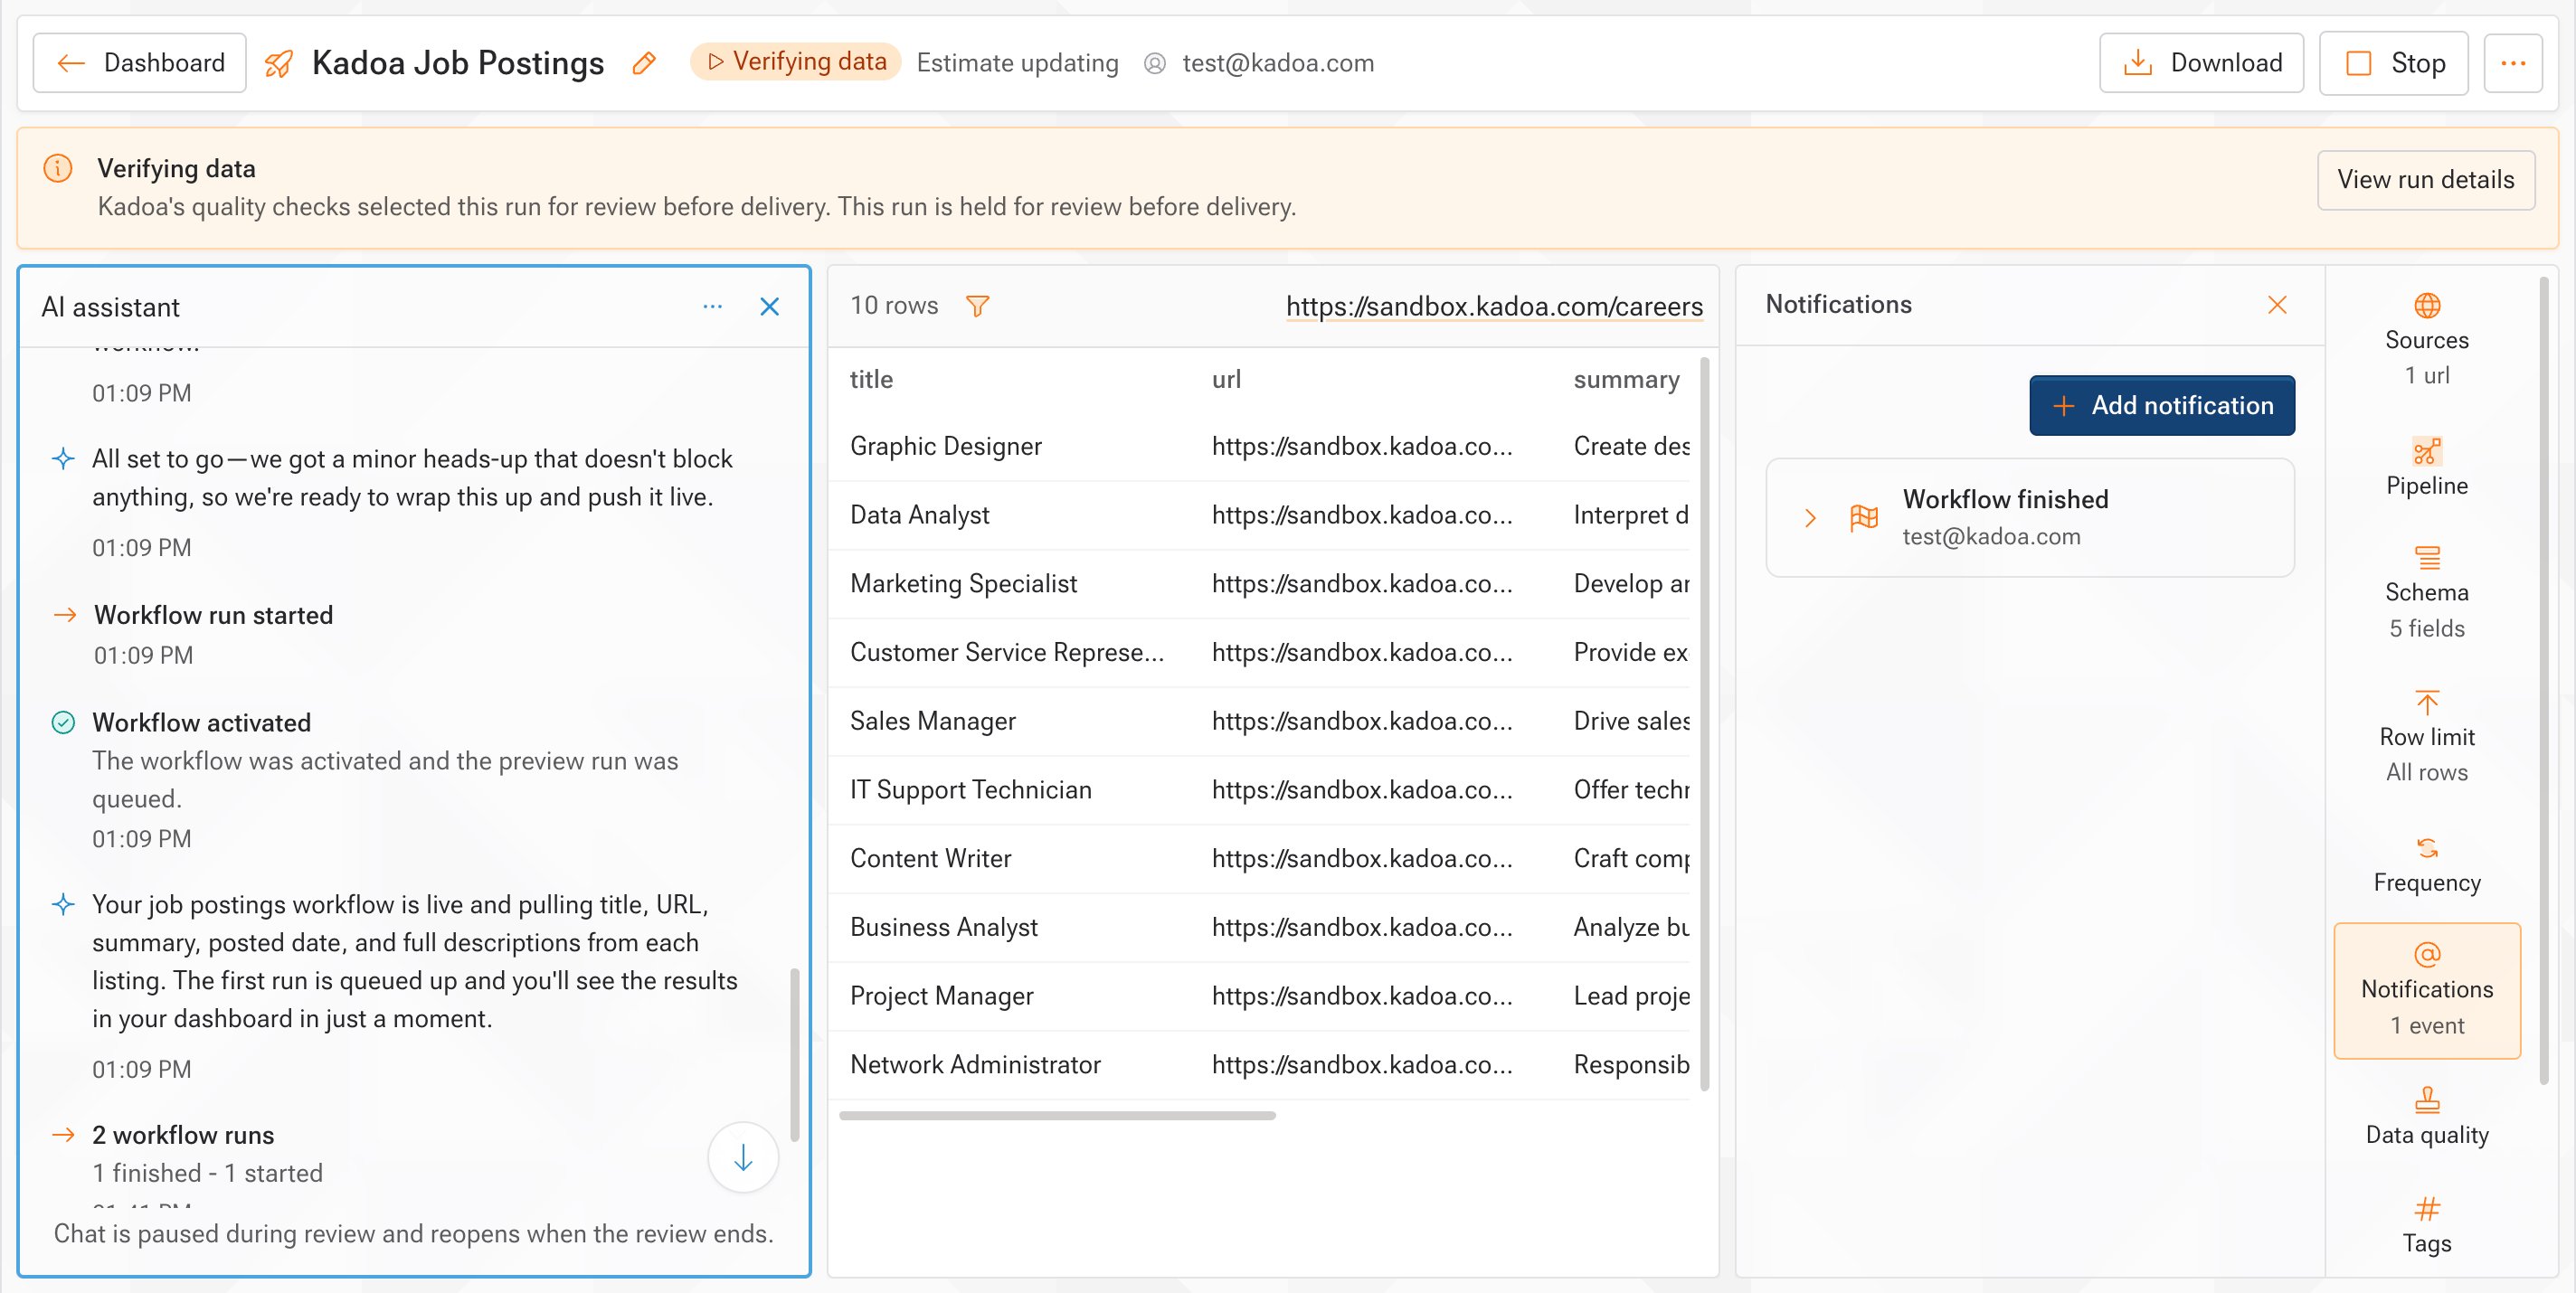
Workflow settings override team settings for the same event type.
Filter data change alerts
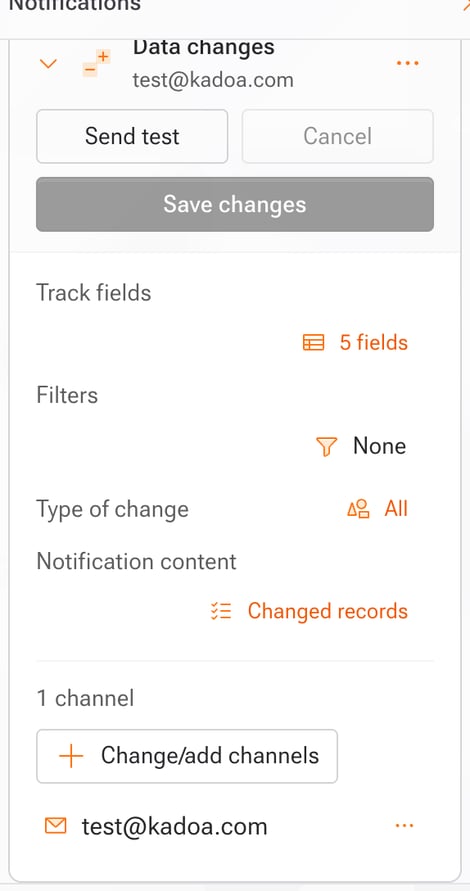
You choose which data changes trigger aworkflow_data_change notification. Kadoa sends this event after it detects changes with the change detection rules. You set these filters per workflow in the dashboard:
- Track fields: the fields to watch. All fields by default.
- Filters: conditions on field values. Kadoa notifies only when values match them.
- Type of change: the kinds of change that trigger a notification. All three are on by default.
- Updated: an existing record changed. This needs at least one key field. Without one, a changed record arrives as one removal and one addition.
- Added: a new record appeared.
- Removed: a record disappeared.
- Open your workflow and select the Notifications tab.
- Select the Data changes notification. To add one, select Add notification > Data changes, then add a channel.
- Under Track fields, keep all fields or select Select fields to track and pick fields.
- Under Filters, add conditions.
- Under Type of change, select Updated, Added, or Removed.
- Select Save changes.
Filter operators
Combine conditions with:- Any (OR): Notify if any condition matches
- All (AND): Notify only if all conditions match
Date filters
Usebefore, after, or in the last operators to filter changes by date. Use this for news feeds or other content where only recent items matter.
Your data must include a date field for date filtering to work.
- ISO:
2025-01-15(recommended) - US/EU:
01/15/2025,15/01/2025 - Month names:
Jan 15, 2025 - Timestamps:
2025-01-15T10:30:00Z
Choose what notifications contain
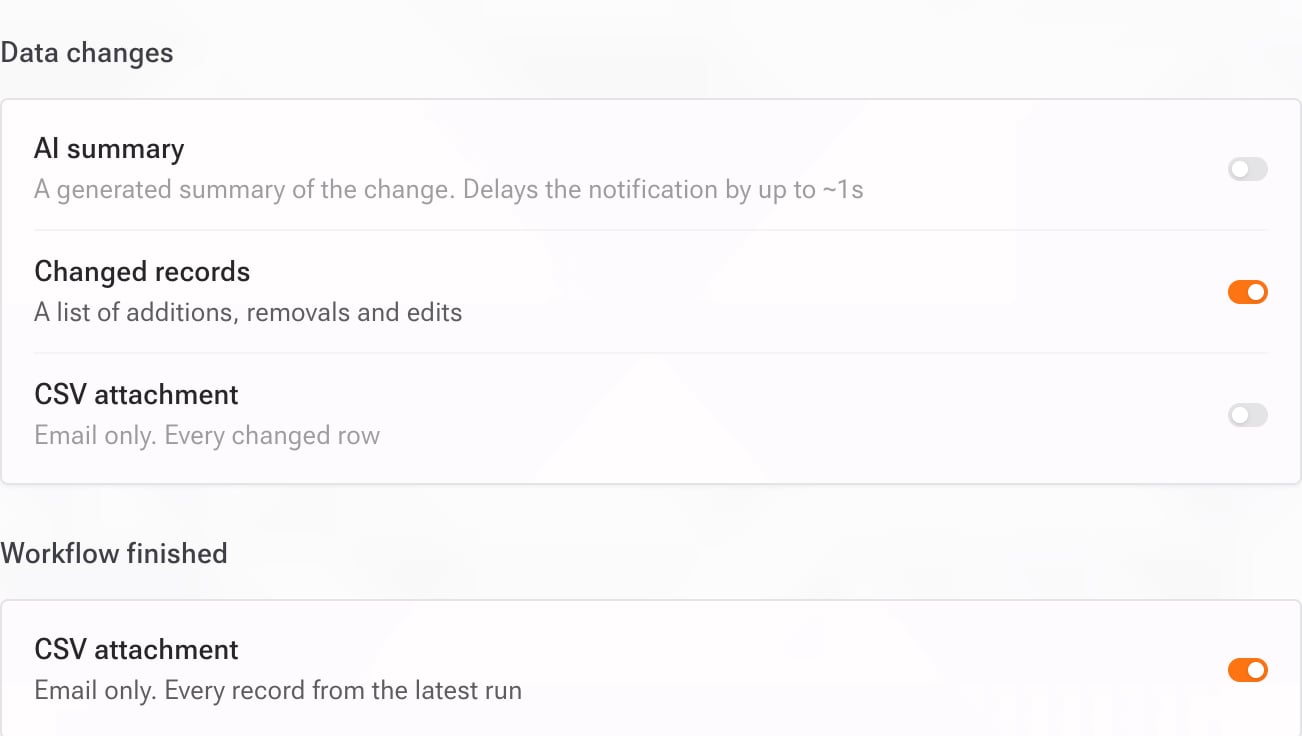
Data change and Workflow finished notifications can carry extra content, such as an AI summary or a CSV file. Set team defaults, then override them for one workflow if needed. For what each option does, see Notification content. You set notification content in the dashboard. For the team:- Go to Settings > Notifications.
- Below Workspace notifications, find the Data changes or Workflow finished section.
- Turn AI summary, Changed records, or CSV attachment on or off. Each change saves right away.
- Open your workflow, select the Notifications tab, and select the notification.
- In the Notification content row, open the content menu.
- Turn off Use workspace defaults.
- Turn each option on or off.
- Select Save changes.
Send a test
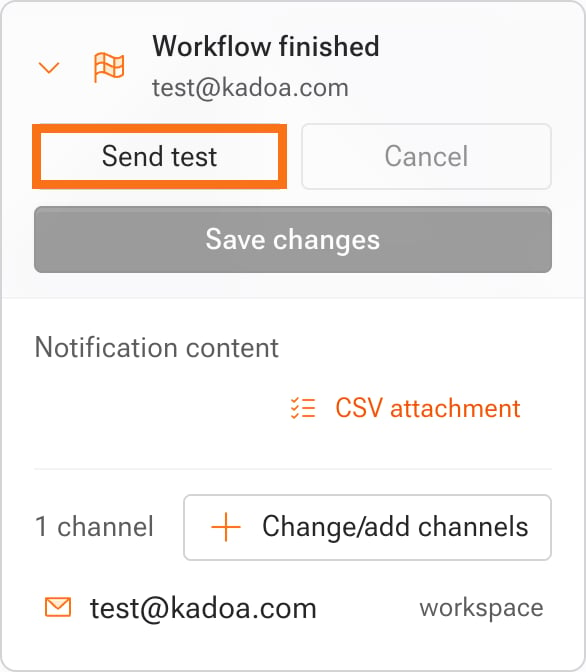
You send tests from the dashboard to check that a channel receives notifications.- Open a saved notification in Settings > Notifications or on the workflow’s Notifications tab.
- Select Send test. The button appears when the notification has a channel and no unsaved changes.
- Check your channel for the test notification. Tests use sample data, not your records.
Receive events in real time
With the SDK, you connect to the WebSocket channel and receive events as they happen. For reconnect, drain, and reliability semantics, see WebSockets.Template-managed notifications
Notifications can be part of a template. When a workflow is linked to a template that includes notifications, the template manages the workflow’s notification settings. The workflow’s Notifications tab shows them read-only. To change them, update the template and apply the change, or unlink the workflow from the template. With the SDK or API, changing notifications on a template-linked workflow returns a409 error.
Event types
Events you can subscribe to
The same events can also start another workflow. See Triggers.
Workflow health
Subscribing to Workflow health gives you failure and recovery notifications for your workflows.- Failure: when a run fails, you receive a
workflow_failedevent with the error reason and a suggested action. - Recovery: when the workflow succeeds after a failure, you receive a
workflow_recoveredevent.
workflow_finished event replaces recovery notifications for scheduled workflows. You don’t receive both for the same run.
For real-time monitors, Kadoa always sends workflow_recovered when the monitor comes back online, whatever your other subscriptions.
System events
These events are automatic. You can’t configure them.Channels
Each channel has its own payload format. See the channel pages for payload formats and examples.
Notification content
Each option applies per event type. To change them, see Choose what notifications contain.AI summary
The AI summary is one or two sentences that say what changed, for example: Prices changed on 65 SSDs. The Samsung 990 PRO 2TB dropped from “423.75” to “408.95”. If people read the alerts, turn it on. If only code reads them, leave it off.- Kadoa writes the summary once per change. Email, webhook, and WebSocket notifications carry the same text.
- It adds about one second to the notification.
- When the AI summary is off,
summaryisnull. - If a summary does not match the changed records, Kadoa drops it. The notification then goes out without one, and
summaryisnull.
CSV attachment
Email attaches the CSV when it is small enough. Larger files arrive as a download link. The link is always included.Related
- Change detection: the rules that decide what counts as a data change
- Templates: share notification settings across workflows
- Contact support for help with setup